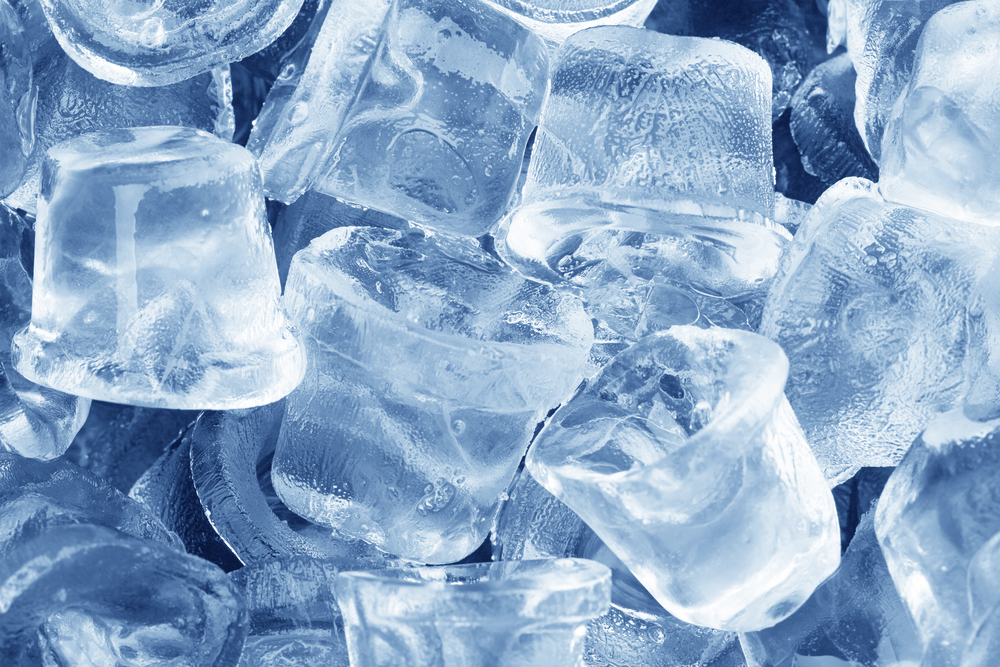
Igloo ice makers are super convenient, but it’s essential to keep your ice maker clean so that its durability is prolonged and it produces high quality, clear ice.
Not cleaning your ice maker could make your ice taste weird, as it may start to absorb flavors from the mildew or mold that develops in the device.
A dirty icemaker will also produce cloudy ice and may even develop bad smells if it's not regularly disinfected.
You should also consider the impact this has on your overall health; for example, if you’re allergic to any of the microorganisms in the mold and mildew that develops in your dirty icemaker it could have a knock-on effect on your health.
Cleaning your Igloo ice maker is simple, and to do so, you’ll need the following:
- Appropriate ice machine cleaner (vinegar and acidic items are not recommended)
- Soft cloth
- Warm water
- Bucket
- Non-abrasive sponge
Cleaning the Interior
Step 1: Remove the Ice from the Dispenser
Collect all of the ice from the dispenser and dispose of it.
Alternatively, rather than letting it melt, you could store it in a freezer bag to use at a later date.
Step 2: Press the Clean Button
Your machine should have a “wash” or “clean” button. This will trigger a flow of water to pass through the dump valve and into the drain.
Ensure that you wait until the trough has refilled. When the machine is ready, the display should then indicate that it is time to add the cleaning solution.
On average, this takes around a minute. Once the display notifies you, add the cleanser, following the instructions that came with your machine and those on the container of the cleanser.
Step 3: Wait for the Cycle End
This depends on the model of your ice maker - some take as long as 70 minutes, while others only take 20 minutes.
Once the cycle has finished, unplug your ice machine and its dispenser if possible.
Step 4: Remove Internal Components for Cleaning
Don’t rely on the self-cleaning function alone to thoroughly clean your ice maker.
Instead, remove all of the internal parts of the ice maker so that you can clean them separately.
If you’re unsure how to do this, the manual should tell you how to safely remove the internal components.
Step 5: Mix up the Cleaning Solution
Prepare the cleaning solution. Be sure to check the manual and the label on the cleaner to see how much is recommended - usually, you’ll use a ratio of about 16 ounces of cleaner to one gallon of water.
If your ice maker has a lot of mineral build-up, you may need to use more cleaning solution to break this down. It’s also worth considering whether you need to repeat the cleaning process to see results.
Step 6: Use Half of the Solution to Clean the Components
Pour approximately half of the mixed cleaning solution into a bucket, and place all of the removed parts into the mixture to soak.
You may notice some foaming as the solution comes into contact with the limescale and buildup. Once the foaming has stopped, use a sponge, soft-bristle brush, or cloth to gently work the mixture into the parts.
Once you’ve finished cleaning them, you can rinse all of the parts thoroughly with clean, warm water to remove any of the cleaning solution.
Step 7: Use the Other Half to Clean the Surfaces
With the leftover cleaning solution, you can clean the surfaces of the bin, dispenser, and ice maker.
You can use a cloth or nylon brush for this to gently scrub the surfaces with the mixture, ensuring you get the base (the part above the trough), sidewalls, bin or dispenser, and evaporator parts (bottoms, sides, and top).
Step 8: Rinse Everything
To remove any residue of the mixture, use a clean, wet cloth to wipe down all the surfaces that you washed with the cleaning solution.
This is an important step to ensure all of the chemicals are removed so that your ice doesn’t get contaminated.
Cleaning the Exterior
While the outside of your ice maker isn’t coming into contact with the ice as much as the interior is, it’s still important to clean it regularly to reduce the risk of contaminants from the outside getting inside.
It also helps maintain the appearance and durability of your ice maker.
Wipe Down Surfaces
Use a damp cloth to wipe down the exterior surfaces and remove dirt and dust.
Avoid brushes, however, as these are too harsh and abrasive and may scratch the surfaces.
Use a Mild Dish Soap
For stains or grease build-up, you can use mild dish soap to target these. For optimal cleaning, choose one with a built-in degreaser.
Mix the soap and water thoroughly and then dip a soft cloth into the mixture, wringing it out to get rid of excess water.
Avoid harsh citrus-based, chlorinated, or abrasive soaps though, as these can damage the machine’s plastic trim and exterior panels.
How often should you clean an ice maker?
On average, your ice maker will need cleaning and sanitizing every six months. However, you may need to do it more frequently, as the cleaner your machine is, the more efficient it will operate.
A clean ice maker will also prevent faster heat transfer - when your machine heats up too quickly and can damage the components.
If you don’t clean your ice maker often enough, it will take longer to produce ice. This uses more energy and puts more wear and tear on the machine.
How do I know my ice maker needs cleaning?
There are several signs that indicate your ice maker may need a thorough cleaning. These include:
- The machine has a low capacity for ice
- It’s producing incomplete or shallow cubes
- It’s emitting an odor
- The ice is poor quality (not clear or soft)
- Slow harvest or no release of ice
